Seasonal Maintenance Tips for Spring Planting
The 2024 spring season has sprung and it’s time to prep those garden beds and prune those shrubs! If you’re anything like us here at Nokomis Landscaping, you’ve been eagerly awaiting this moment all winter long! It’s important to note, though, if you are located in an area that is still experiencing nightly frost, you must hold off a while longer (at least until the nights are consistently above 0 degrees Celsius or 32 degrees Fahrenheit).
STEP 1: CLEAN UP WINTER DEBRIS

Start by cleaning up and removing any winter debris such as leaves, branches, and dead plant material from your garden beds and lawn. Clearing away debris ensures optimal air circulation, reduces pest and disease problems, and prepares the garden for fresh spring planting. Invest in a leaf rake and blower to manage your spring maintenance.
If your household composts, leaf litter and dead grass will work great with composting. Pine needles however are very acidic and may not be suitable for gardens if you are using your compost to feed your garden.
For those that do not compost, here in Vernon, the City has a spring clean up program. Bag your debris in clear bags and leave curb side.
STEP 2: PRUNING AND TRIMMING
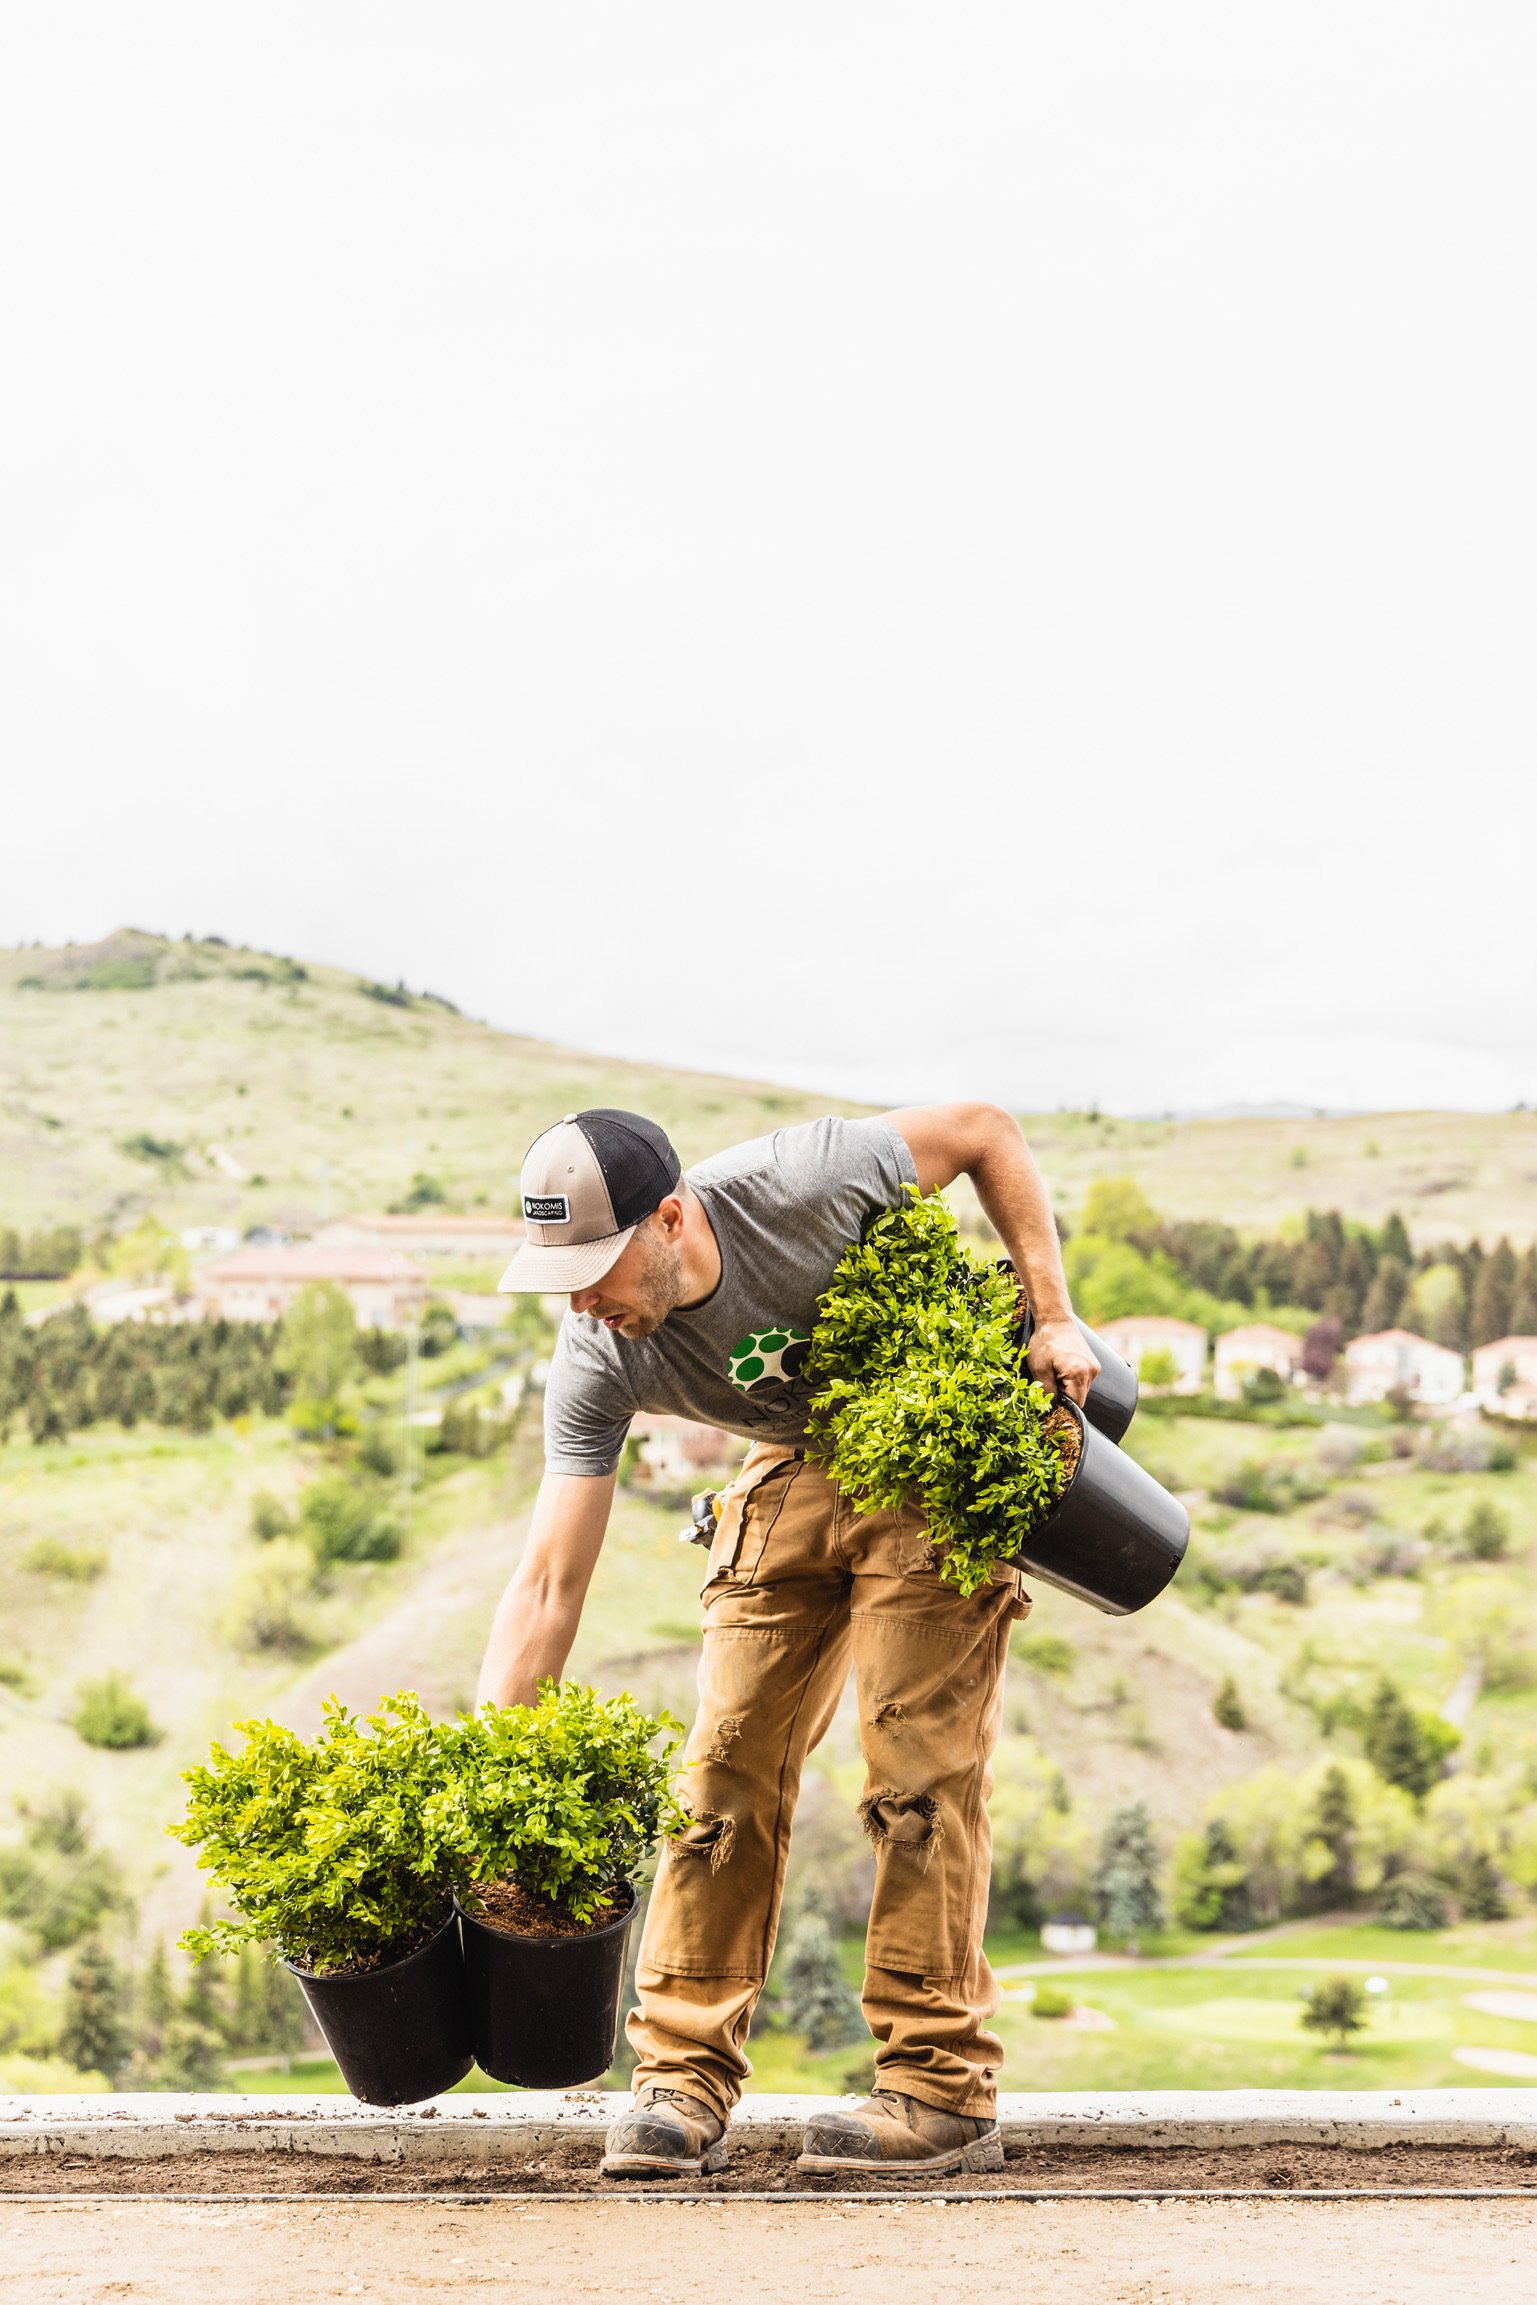
Once you’ve finished clearing away winter debris, we move on to pruning and trimming shrubs, trees, and perennial plants to remove any dead, damaged, or overgrown branches. You’ll want to trim back any frost-damaged growth from shrubs and perennials, taking care not to prune spring-flowing plants until after they start to bloom. Start with clean and sanitary pruners or loppers and ensure they aren’t dull. Make clean cuts, cutting the branches back to a healthy outward facing bud or lateral branch. This helps promote healing and encourages new growth. Avoid over-pruning, as this can stress the plant and inhibit its growth. A crucial step for spring maintenance is to protect against late frosts. Keep an eye on your weather forecast and be prepared to protect tender plants with frost cloth or row covers if necessary.
STEP 3: DIVIDE AND TRANSPLANT

Spring is an ideal time to divide and transplant overcrowded perennials such as Hostas, Daylillies, and ornamental grasses. Start by digging up the plant, ensuring to dig up the entire root ball. Divide the root ball into smaller sections, and replant in well-amended soil with plenty of water.
STEP 4: LAWN CARE
Start by raking or dethatching your lawn to remove any debris, leaves, and dead grass that accumulated over the winter. This allows air, sunlight, and water to penetrate the soil and reach the grass roots. If your lawn has thin or bare patches, overseeding can help fill them in and promote a thicker, healthier lawn. Apply a slow-release nitrogen fertilizer specifically for spring use to provide essential nutrients to the grass as it begins actively growing. Spring is an ideal time to address weeds before they become established. Manually pull clover, dandelion or thistle or spot-treat them with a vinegar solution or product of your choice.
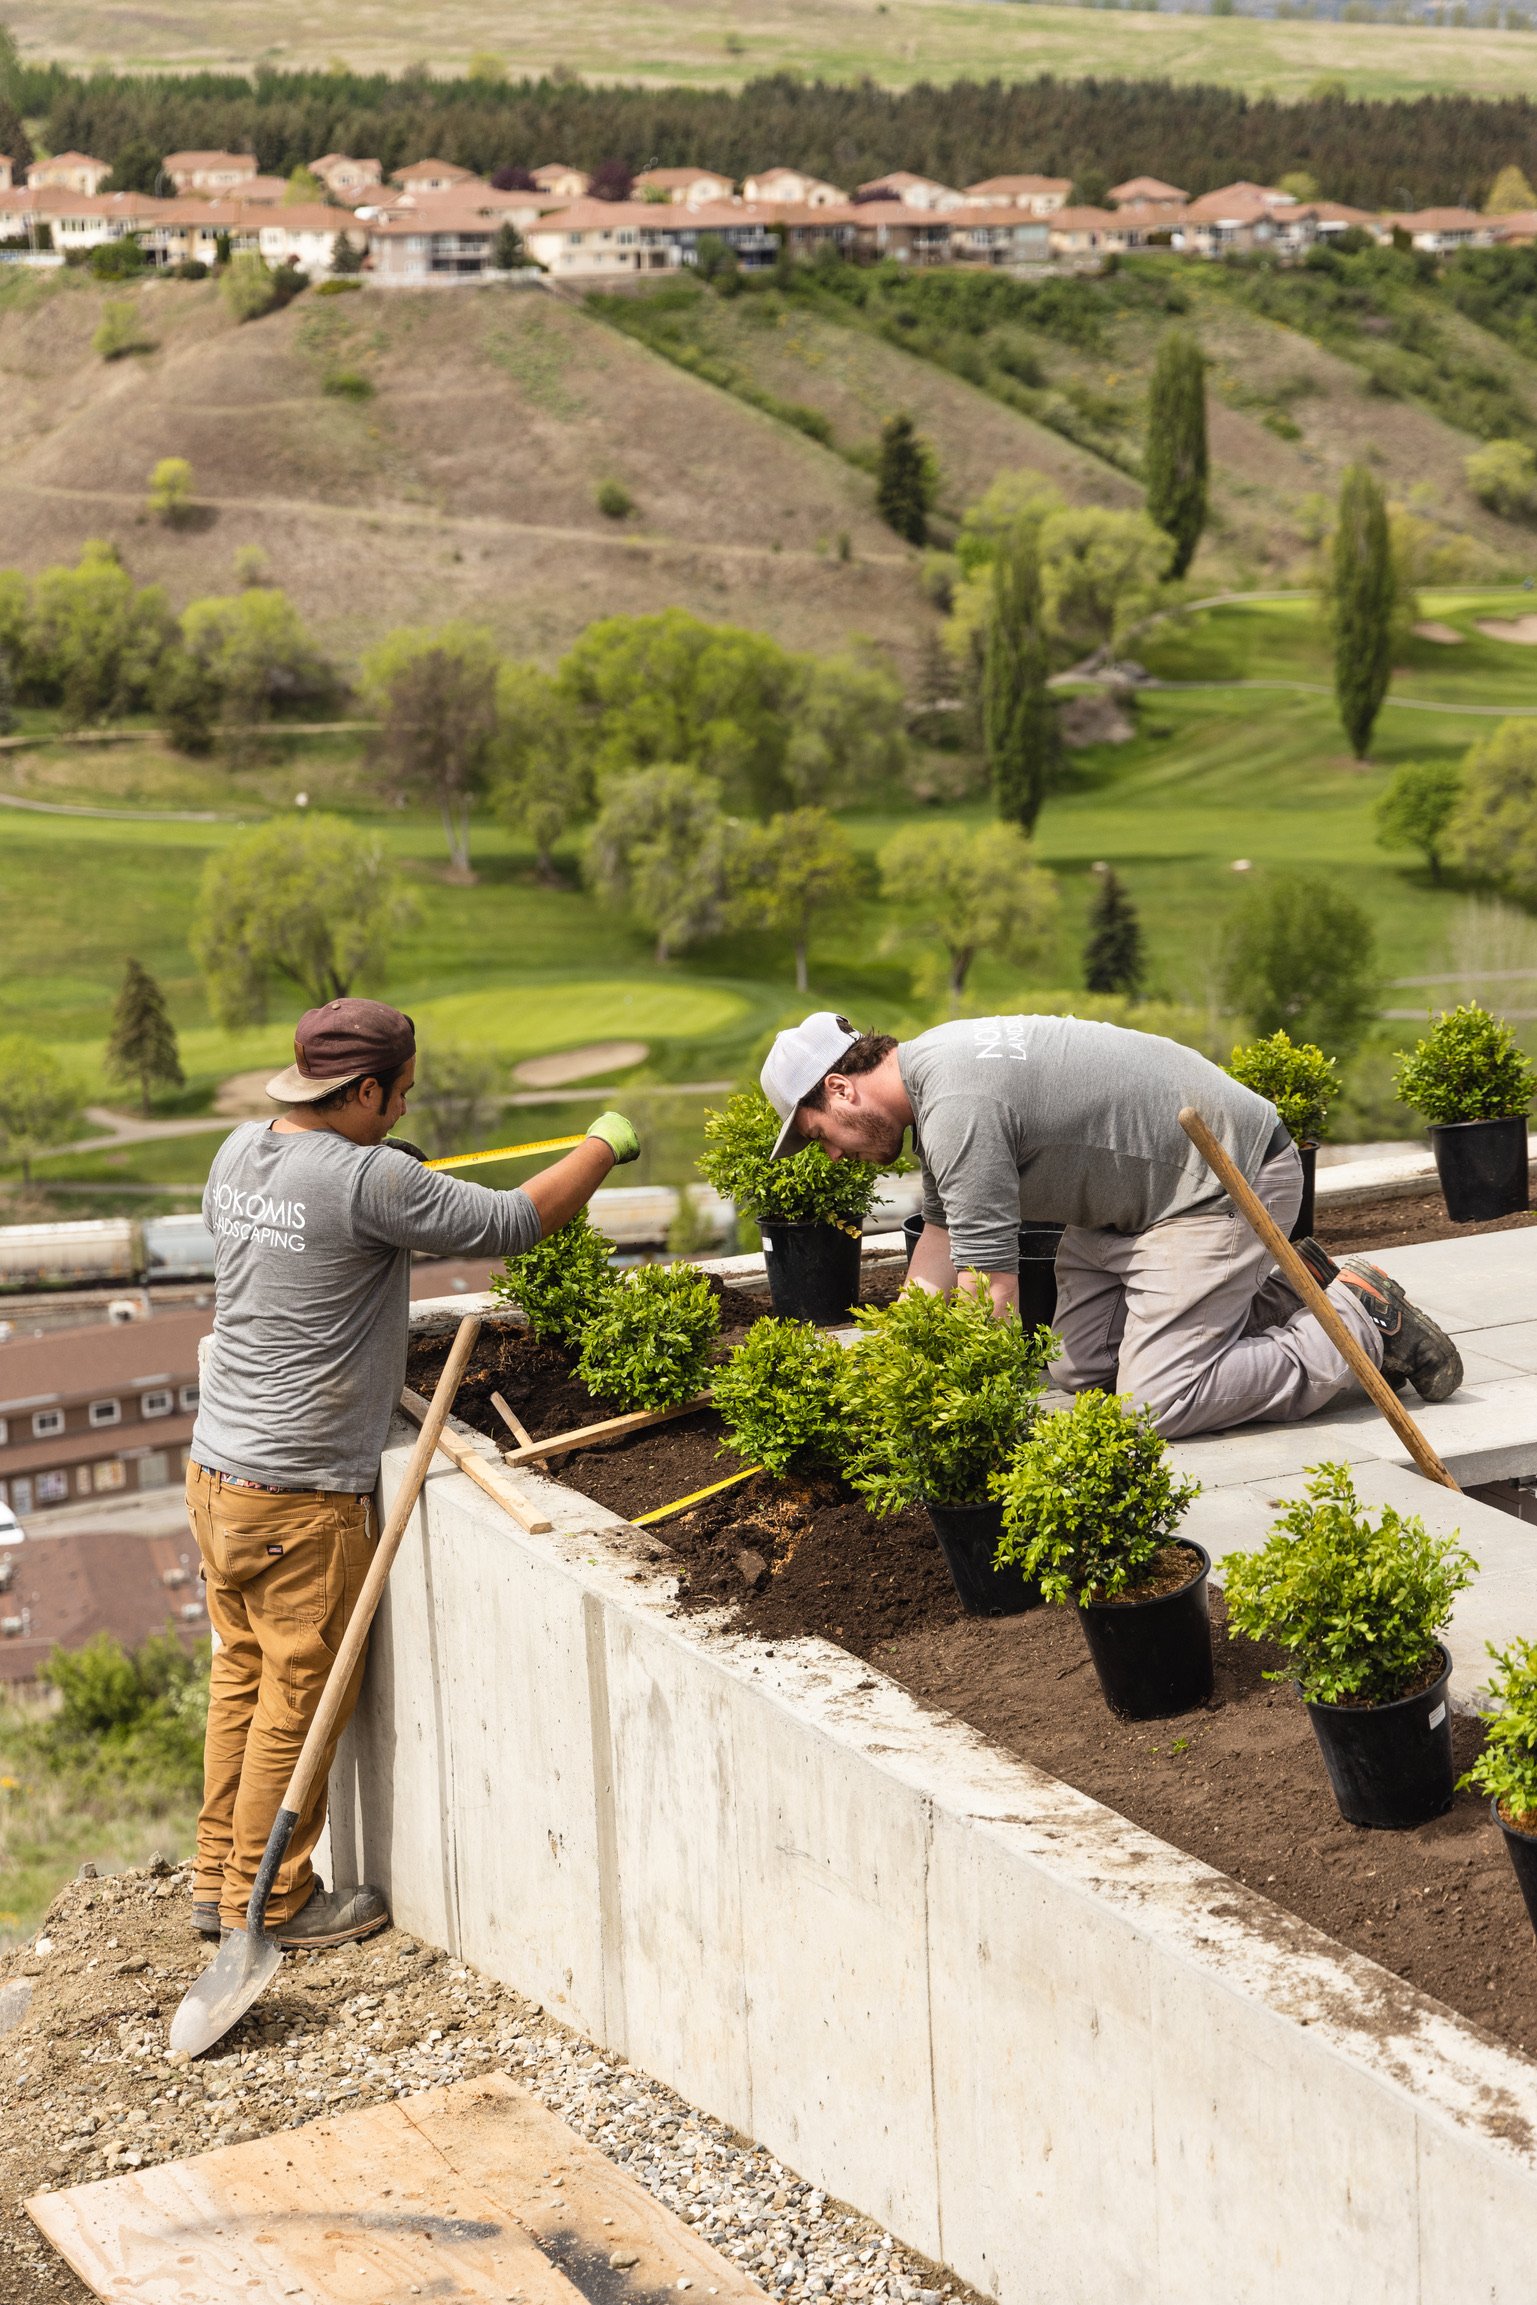
STEP 5: PLAN & PREP YOUR GARDEN BOXES

If you enjoy cool-season vegetables such as lettuce, spinach, kale, peas, and radishes, you can prep your garden beds as soon as the soil can be worked! Start by loosening the soil and incorporating organic matter such as compost or aged manure. If you have a soil test kit to test the pH and nutrient levels in the soil, I would do that now! It’s best to adjust the soil’s pH and nutrient levels as early as possible to ensure optimal growing conditions for your plants, all season long! You could sow annual flowers such as pansies, violas, and snapdragons for early spring colour in containers and keep them inside for now. Fill the containers with potting mix and sow the seeds evenly across the surface. After sowing the seeds, water the soil thoroughly and be sure to keep the soil consistently moist but not waterlogged during the germination period.
STEP 6: START UP YOUR IRRIGATION
As temperatures start to rise, it’s important to monitor your soil moisture levels and water newly planted trees, shrubs, and perennials as needed. Water deeply and infrequently to encourage deep root growth and drought tolerance. Watch the video below to learn how to start up your irrigation system properly in the spring!
STEP 7: MONITOR FOR PESTS AND DISEASES
Last but certainly not least, keep an eye out for signs of pests and diseases in your garden. Aphids, slugs, and powdery mildew are all signs of a problem, and need to be tended to right away. Practice integrated pest management techniques such as handpicking pests, using insecticidal soaps, and promoting beneficial insects to prevent the growing population of pests in your garden.
By following these seasonal maintenance tips for spring planting, you will prepare your garden for a successful blooming season! You’ll set the stage for healthy growth, and abundant blooms throughout the year. It’s important to remember — not all soil is the same and each climate zone differs, so make adjustments where needed and reach out to your local landscape specialist for questions and advice.
HAPPY GARDENING EVERYONE!